
Ever need a shot of a character on horseback for your 3D animated short film? Maybe a mutant-feline charging at some hapless safari explorer? Well, it’s entirely possible now, even if you’ve never animated a quadruped in your life!
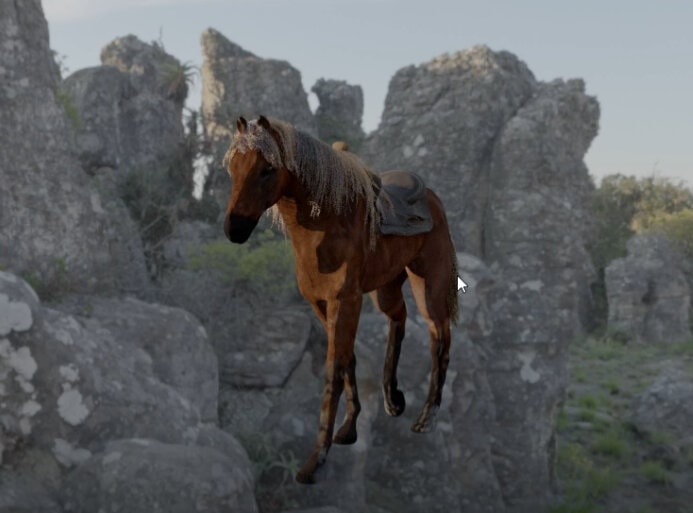
Here’s an early iteration of the shot we’ll be looking at:
I rendered the shot over at our Blender render farm. It was a real treat to be able to get my rendered frames in a matter of minutes! If you’re working on a short film or any animated sequence and could use some quick and easy render farm power, check us out!
If you found your way here and are not a Blender user, you may want to keep reading! Blender is becoming more and more powerful and has a cornucopia of free and equally powerful addons. You could generate your instant quadruped in Blender and send it to Maya, Cinema 4D or any other DCC with support for Alembic files, for example.
Enough of the preamble. Let’s get to it.
Rigify Animbox is a Blender animation add-on by Valangdance that offers a range of incredibly useful features for rigging and animating, one of which is Rigify Zoo, which allows us to generate pre-animated quadrupeds that come with base meshes. We can use these base meshes to create our quadrupeds, or even as a simple reference for proportions to help us align our models to the rig. In this article, we’ll go over how I used Rigify Animbox to create the shot on the video tutorial
Once you’ve downloaded the addon from Gumroad (and I do hope you left good ol’ Vangaldance a tip for his efforts!), simply open up your preferences in Blender and in the add-ons tab, import and enable the .zip file.
After, you’ll see a tab labeled “RA” on the right side of your viewport.
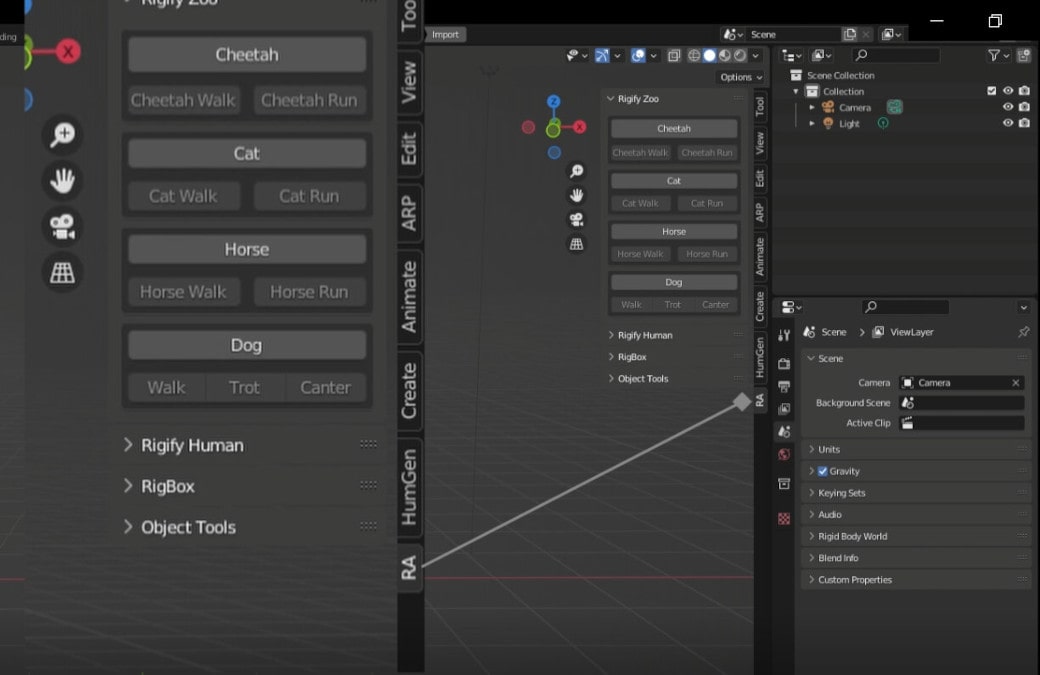
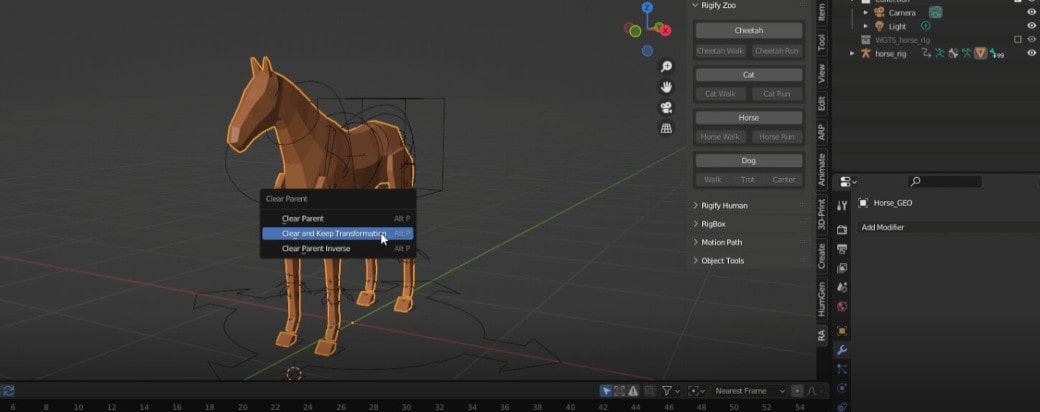
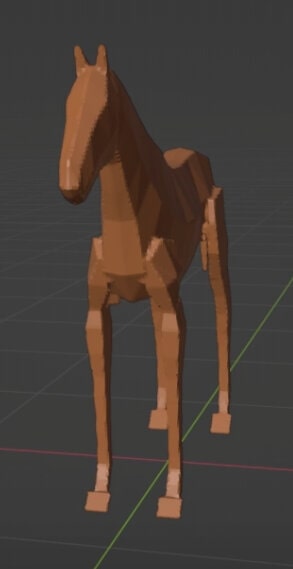
On the corresponding menu, you’ll see a list of quadruped presets you can load into your scene. For this project, I hit “Horse” and with the speed of a gunslinger's quick-draw I got this rigged base mesh:

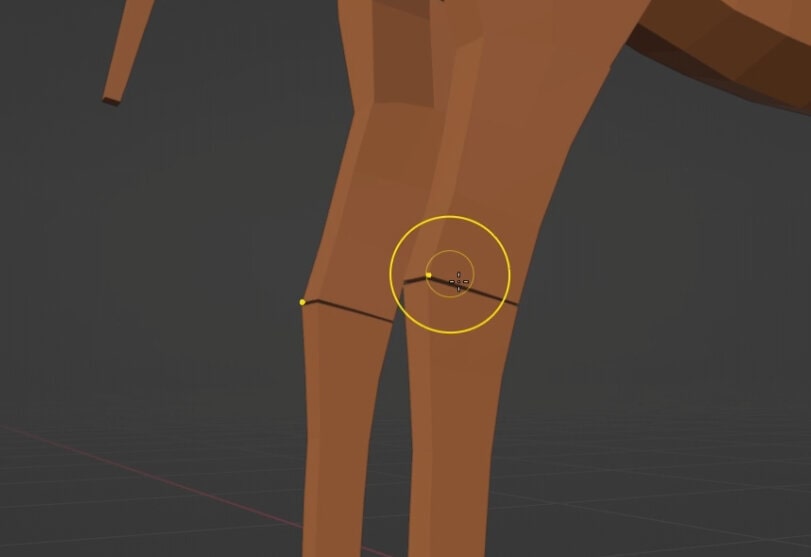
To get our quadrupeds moving, all we need to do is select the armature, enter Pose Mode and select a controller. On the right-side panel we can now choose to generate a walk or run cycle. I chose “Horse Walk” in this case.

We now have our very own moving four-legged friend.

The animation is a 32 frame cyclic walk, and if we were to extend our timeline to however many frames, we’ll see that the animation will just keep on looping, which in itself is a huge time saver!
We can select the main root controller of our rig and begin to keyframe a forward movement. Blender will automatically set the resulting f-curve to a Bezier Interpolation. I personally found that setting the interpolation to Linear makes it easier to approximate a forward movement that was accurate to the walk animation.


Now when you try this out on your own scene, you might get lucky and have a nice forward movement for your quadruped. I didn’t. The initial keys I set covered a too long distance over a too long time period. That meant at several points in my horse’s walk, its feet would slide on the ground in a way that would make the late Michael Jackson roll over in his grave.
Thankfully, the linear curve on my location channel made that clear right away. The quickest way to minimize this sliding is to simply select the endpoint of the curve and move it up until you get the right speed and distance for the pace of the walk cycle.
At this point, I had a satisfactory walk animation, but the horse’s front legs seemed a bit too far apart. To fix this I selected the front feet controllers and while still in the f-curve editor, I selected their x location channels and moved the curve up or down until I had both feet closer towards the centre.


Was it necessary? Probably not, but the animation looked better for it in my humble opinion. What really matters is that you can always make adjustments to your quadruped’s poses by moving the curves of certain controllers on whatever channel you need. You are not limited to what you get out of the (anim) box.
We have our animation ready, and now comes the fun part. If you have a pre-modelled creature you could just use a lattice modifier and/or the Grab sculpting brush to align it with the rig, but it was more straightforward for me to just use the base mesh for this demo.
To start, I unparented the mesh from the armature and removed the armature modifier.
With the mesh still selected, I entered Sculpt mode and with the Grab brush moved all the edges of the separated meshes towards their closest neighbors until there were no spaces between any of the geometry.
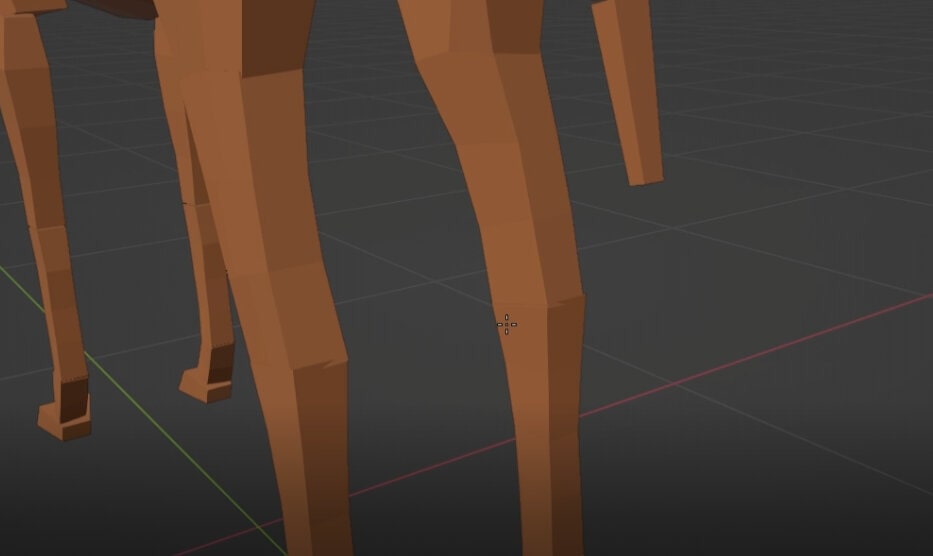
After, I used the remesh operation to actually merge all the geometry into one sculptable mesh. I chose a resolution that was enough for me to quickly lay in the major forms of the horse and increased the resolution as I moved into the latter stages of sculpting. If you’re interested in learning more about Sculpting, listen to what Louis du Mont has to say!
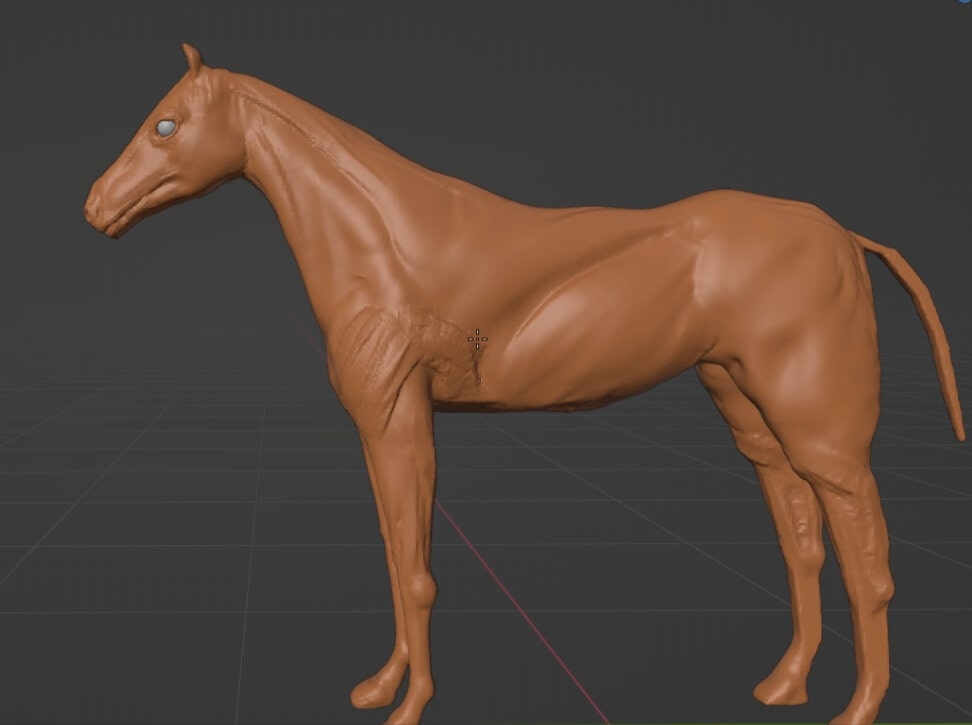
Once I finished, I remeshed it in Zbrush, created some UVs for it and gave it a quick texture job. You could spend as long as you’d like (or can) on your own quadruped of course. More time will more often than not lead to much better results!
The good news is that working from the initial base mesh will give you something that you can just reparent to the rig!

I brought in a character I’ve been working on and put it inside its own collection in the scene. I then created an instance of that collection and parented it to one of the spine controllers on the horse rig.

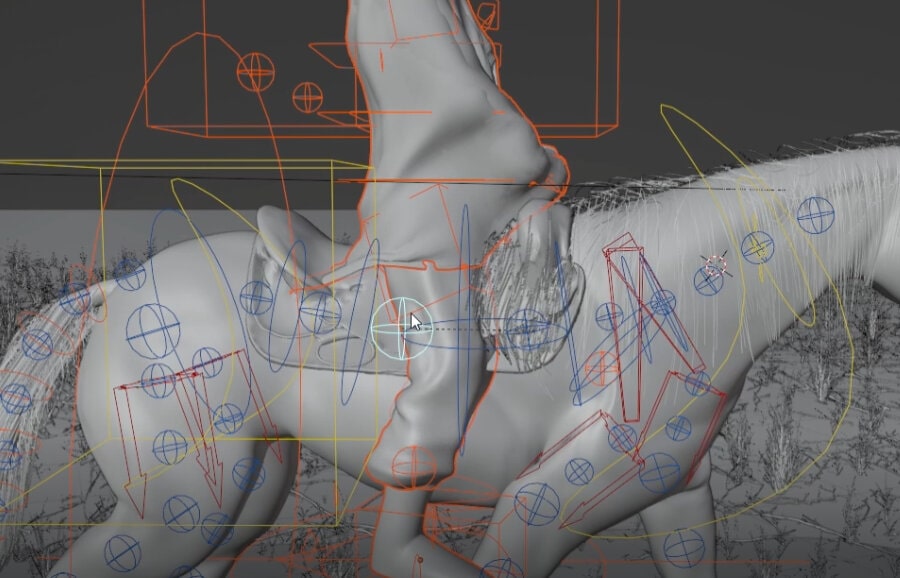
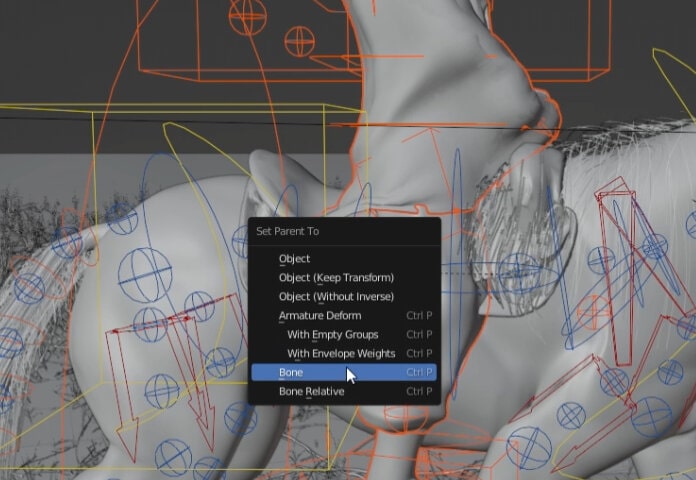
To do this, I selected the instanced character first, then the horse’s armature and tabbed into Pose Mode. I then selected the controller that represented the part of the spine that undulated as the horse was moving and hit ctrl + P to parent the instance to Bone, enabling “keep transforms”.
This made it so that my character would move along with the horse and also reflect the vertical movements of the horse’s midsection as it moved through the poses of its walk cycle.
Later on, I decided to give the character a subtle animation as well. I retargeted a Mixamo sitting animation to the character’s rig and the collection instance parented to the horse updated immediately. To learn more about how to do this, have a look at this article.
I built a quick scene around my horse and rider and rendered it on GarageFarm. That’s how I ended up with a quick and dirty horse for my Blender animation!


