
It would be redundant at this point to reiterate how Blender is a powerful means to create complex 3D animations, and there’s no shortage of great material online that goes into the fundamentals of 3D production. Still, one of the commonly overlooked aspects of creating a visually compelling animation or film is camera movement. How a camera is positioned, moved, and framed can significantly impact how the audience perceives a scene.
In the field of cinematography, camera movement is used to create visual interest, establish spatial relationships between objects, and evoke specific emotions in the viewer. Understanding how to move cameras in Blender to apply cinematography concepts is essential for creating engaging and impactful animated 3D storytelling. Thanks to Lewis Martin of the Blender Community, getting started is much easier!
(If you need a cloud rendering service for your animations with superb Blender support, check out our Blender render farm!)
Cinepack is a collection of pre-animated cameras designed specifically to help users make cinematic camera moves in Blender. It provides advanced camera rigs, constraints, and drivers that can be used to create precise and realistic shots. The Cinepack addon provides customizable camera moves, allowing you to use the provided camera moves as is, or edit them to suit your specific needs. These camera moves can also serve as a foundation for creating more complex camera movements. Additionally, the addon allows for instant previews of all camera moves.

You can select any of the available categories on the top of the panel, and you can preview each of the moves below by pressing the play button icon to the right of the move’s name.

The preview will play on your operating system’s media player. The screencap above is from the preview of the move labelled “J Move Down”.
Clicking on the download icon next to the play button icon will append the camera into your scene.

The Camera rigs will differ slightly depending on the nature of the movement, but each of them will have an empty in the shape of an arrow. Use this empty to adjust the camera rig’s position.
Selecting the camera itself will allow you to adjust the settings of the constraints used in the rig, if any.
In the case of this particular shot, the camera has an Influence constraint that causes it to follow the shape of the curve as it is moved to accomplish the “J” movement.
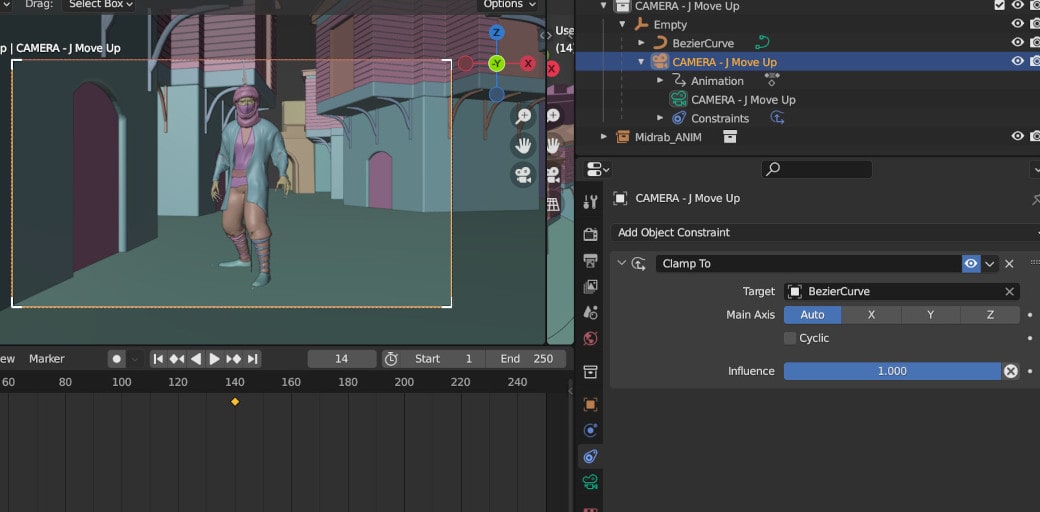
Adjusting the Influence slider value will offset the camera from the curve and affect how closely it adheres to the shape of the curve.

Depending on the camera movement, you’ll find keyframes on the camera object, the empty objects that are part of the rig, or a parameter within the camera object or constraint. You can change the animation duration, start and end points by moving the keys in the timeline. You can also use the NLA editor to push keyframes down into an action that you can then reverse and combine with any hand animations you may want to add.
In the screencap above for example, notice that the camera points at the character at the starting frame. The screencap below shows the end camera position of the “J” movement:
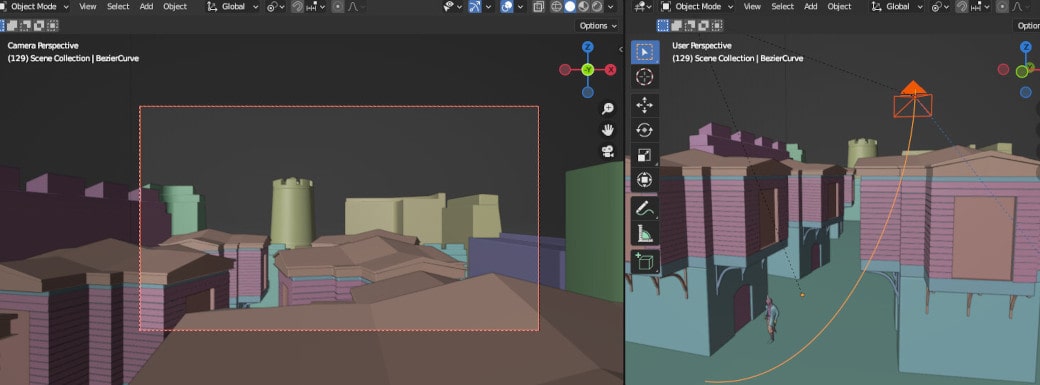
Let’s say we wanted to reverse the shot (There’s actually a rig for the reverse movement, but we’ll pretend there isn’t for the sake of demonstration). To do that, we could either switch the position of the start and end keyframes or, in the NLA editor, turn the keyframes into an action clip and enable “Reversed” on the action clip properties.

Now the camera ends on the character.
As you explore the different camera moves, it will benefit you to consider what animation, constraints, and parents are in play. Eventually, you will gain an understanding of how the camera rigs work, and you’ll be able to customize any camera move to match your idea for a shot.
For instance, if we wanted to extend this shot so that the camera moves toward the character after the J move, we can animate the rig’s Empty after the camera settles on the character.

It’s typically best to animate using the control or Parent Empty for Camera rigs since many, like this particular rig, will have the camera constrained to a spline or another Empty in the object hierarchy.
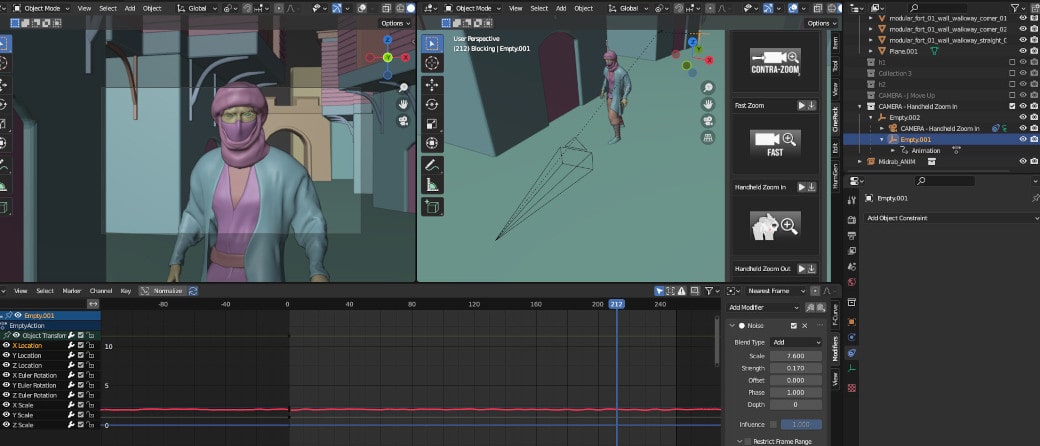
Let’s say we wanted to add a little shake to the camera as it closes up on the character.
If we append “Handheld-Zoom in,” we’ll find that:
- The camera is constrained to an empty with an animation curve modifier called “Noise,” which accounts for the shake.
- The Zoom effect is achieved by animating the camera’s focal length instead of moving the rig.

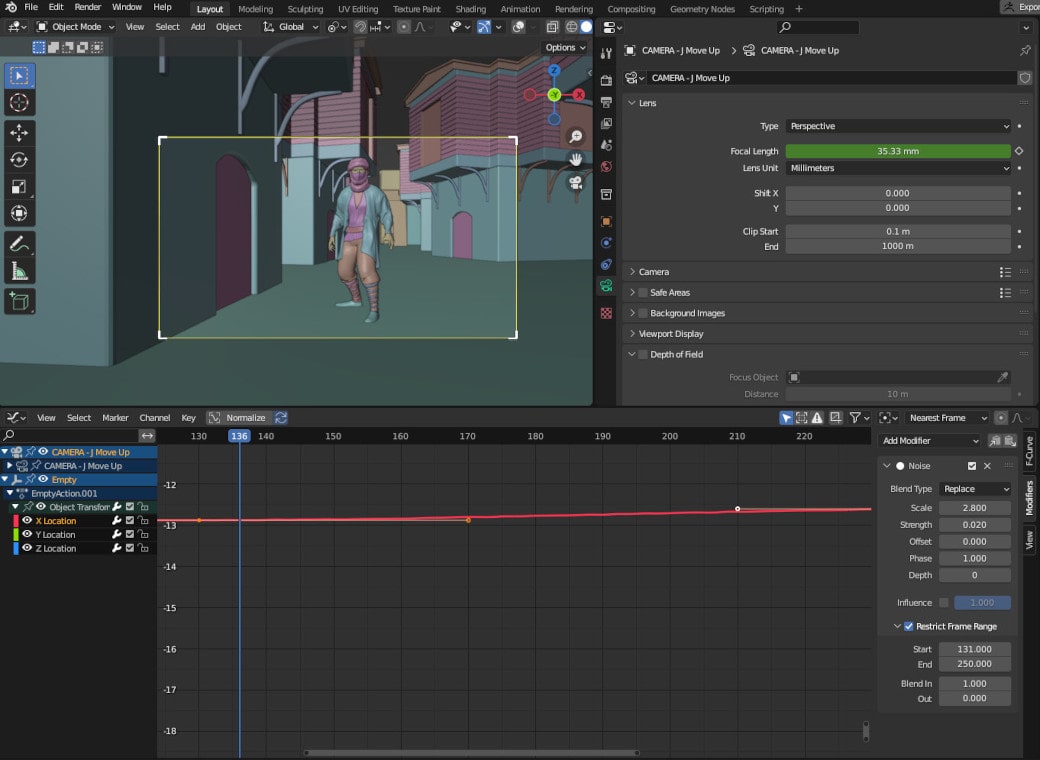
We can apply the same modifier to the appropriate channel on our animated Empty on the J Move rig, and also animate our focal length to add to the final effect.
The Cinepack addon is a powerful tool that can assist you in achieving cinematic camera moves and is an excellent source of learning how to move cameras in Blender for your animated short films. To learn more about Cinematography itself, I recommend Studio Binder’s article on the subject. I hope this was helpful and as always, Happy Rendering!


