Our LightWave plugin should be automatically installed when using the installer directly in our renderBeamer app. If you followed our LightWave guide and can't locate our plugin when you open LightWave, then you can add the missing plugin manually.
If you are experiencing issues with the renderBeamer shelf not appearing in Lightwave, it could be caused by several factors, including the version of Lightwave (especially in 11.x) or a fresh installation, as well as Lightwave's unable to save its own configuration files.
To resolve this, you can add the plugin manually to Lightwave by following these steps:
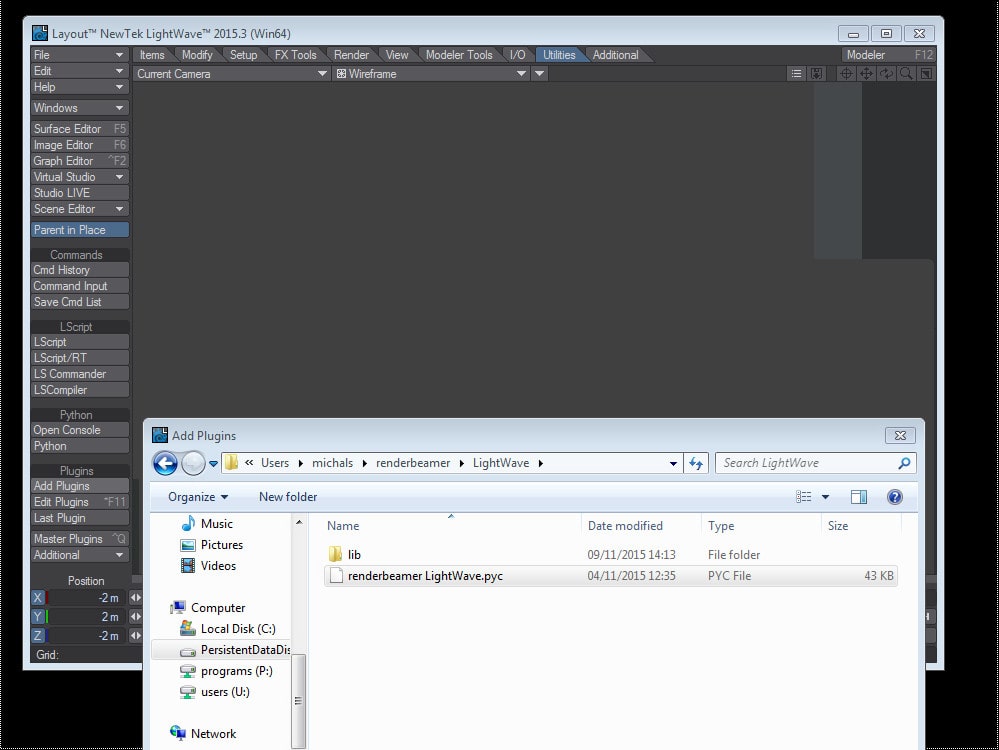
Use the standard Lightwave option to add renderBeamer as a plugin. To do this, go to the Lightwave script installation path and browse for the plugin file.
After adding the plugin, Lightwave needs to save the configuration. To achieve this, close both Lightwave and Hub app (the latter usually runs in the system background) and restart Lightwave.
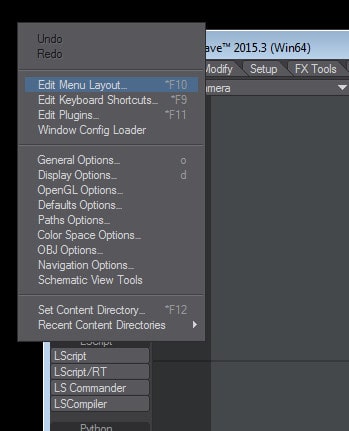
Once you've restarted Lightwave, you can edit the Lightwave menu layout to place the plugin wherever you prefer. To do this, select the "Edit" -> "Edit Menu Layout" option from the main toolbar on the left.
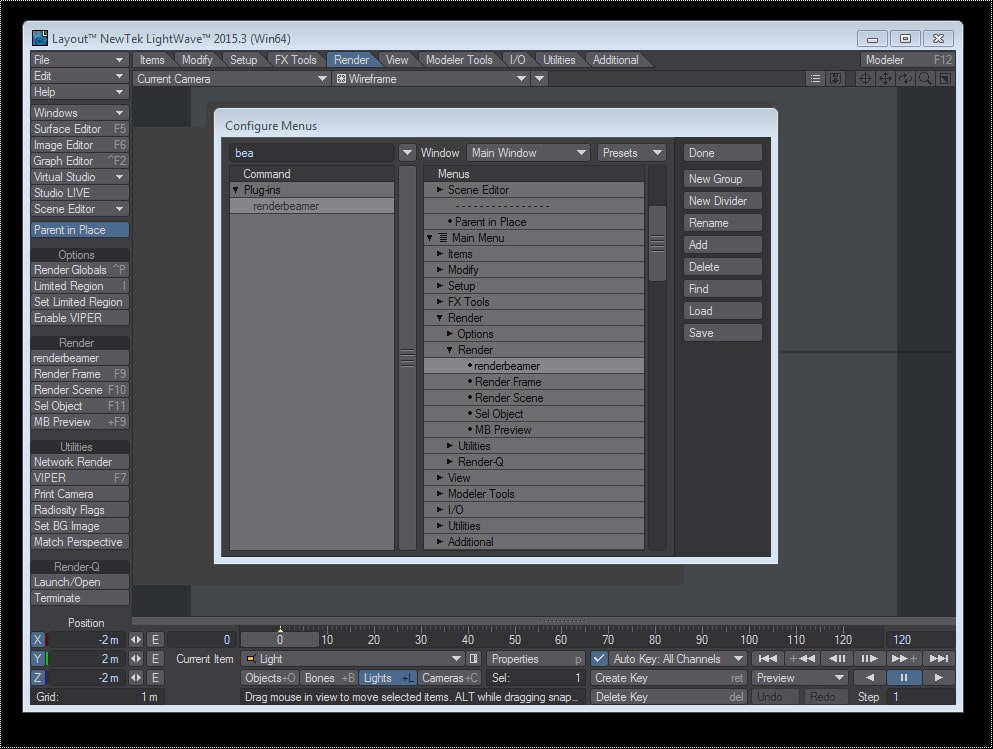
In the menu layout window, find the renderBeamer plugin on the left side and drag & drop it to the desired location on the right side.
Finally, click the "Done" button and “Save” the configuration.
Following these steps, you should be able to successfully add renderBeamer to Lightwave and start using it for your rendering requirements.
.png)
